I do not know how to do cartwheels (yet) but I will never give up having fun while I try! Come join me in my attempt to figure out myself and the world as I travel, love, dance, learn, write, climb walls, ski, hike, pedal, eat, drink, be merry, stumble, fall, have conversations, remember conversations, make things, grow things, and just attempt to live everyday as if it were my first and last simultaneously.
Showing posts with label nesting. Show all posts
Sunday, November 2, 2014
The Kitchen is Getting a Makeover!
In the midst of all the traveling we have been doing lately, we are up to our eyeballs with a kitchen remodel also. Can you believe our gumption? It's been quite the adventure imagineering our kitchen that reflects our style, cooking, and personality - and to actually build it day to day. With cutbacks here and there to draw the line between frivolous and realistic, many weekends spent in tile and stone warehouses, return trip after return trip to Home Depot, we are finally almost there. Thanks to The Dutch, his Dutch BFF (yes, we had an import!), and our all-around handyman, we were able to DIY most of the way. We decided on a tile backsplash yesterday and that is going in next weekend, cross fingers. We have been cooking from a camping stove for two weeks now, so hopefully, by the end of the week, we would actually have a working one.
Labels:
nesting
Friday, March 7, 2014
How to Start your Seeds Indoors
I was at Home Depot today just nosying and I was reminded how expensive starts and seedlings can get. The current market price for a small pot of non-organic, unhappy looking herbs was $3.97. For one. So if you're trying to build a garden, it can get very costly. On the contrary, a packet of organic seeds containing more seeds than you probably need only costs $0.50-$2. And right now, they're buy one, get one free!
They key to starting a garden from seeds though is starting early. It's probably too late to start your broccoli, kale and chard from seed now since those take longer to grow. But if you're in the West Coast where it's been uncharacteristically warm, you could absolutely sow beets, radishes, carrots now. But you have to do it fast.
Warm weather plants like tomatoes, cucumbers, squashes, peppers, basil, etc. need to be started from seed indoors NOW. Here are some practical tips on how to grow healthy plants yourself from seed.
1. Source your seeds. I buy my organic, non-GMO seeds from www.seedsnow.com . I find that the starter pack for 99 cents is all I need. The sprout rate is pretty high, too. You can also buy seeds at Home Depot or even your local grocery stores. in fact, right now, Home Depot is running a buy one, get one free on all seeds. Lastly, save your seeds! Ate a tomato or a pepper you loved? Save the seeds. You just need to wash and dry them and they would be ready next season! There are many YouTube videos on this topic.
2. Use a soil starter mix of compost, coconut coir and vermiculite. If you're familiar with square foot gardening, this is the mini-me version of what you would use in your outdoor garden. If budget is not a consideration, you could also buy a seed starter mix at the nursery. I cannot recommend anything they sell at the big box stores (in fact, I bought a Jiffy brand one to try and I'm returning it). The one that I've tested and proven is Dr. Earth Root Zone that I bought locally at Moana Nursery. I especially like it since it is infused with a whole bunch of organic compost and magic ingredients and it's formulated with mycorhizae, a beneficial microbe that promotes healthy root growth. I used this last year with great success. Some recommend to use coir pellets which are those round objects made of peat moss or coir that expand when submerged in water. I've used them before but the ones I grow without do just fine.
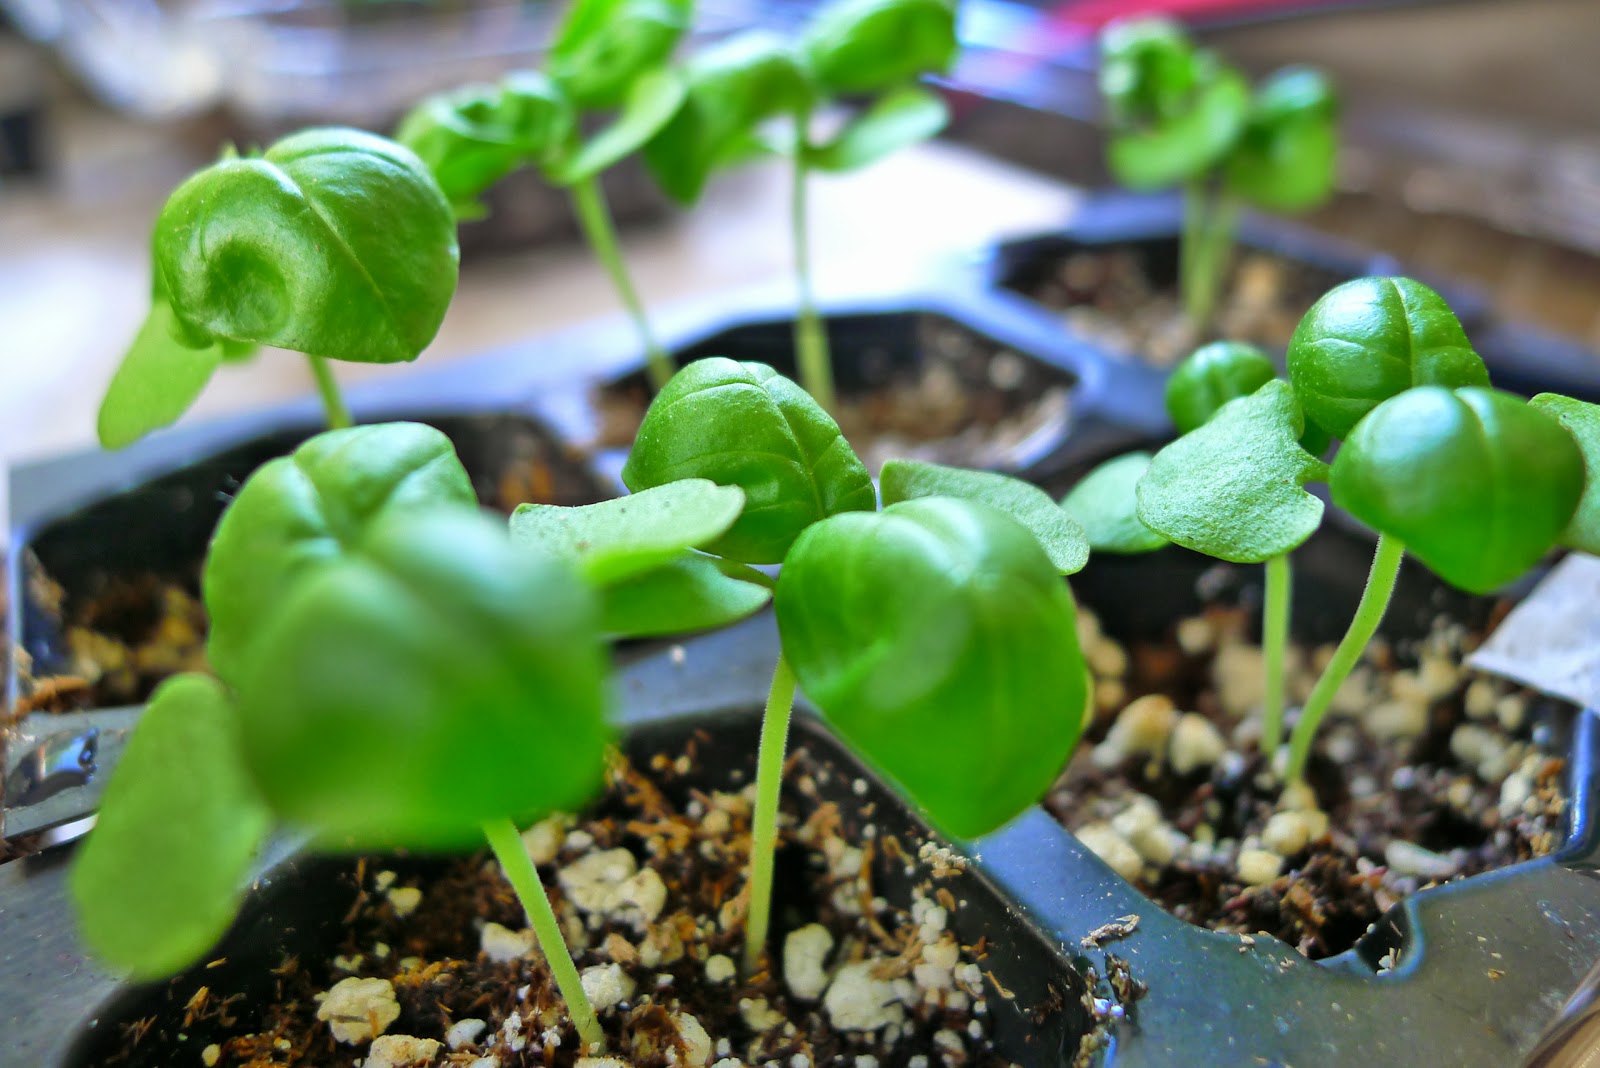
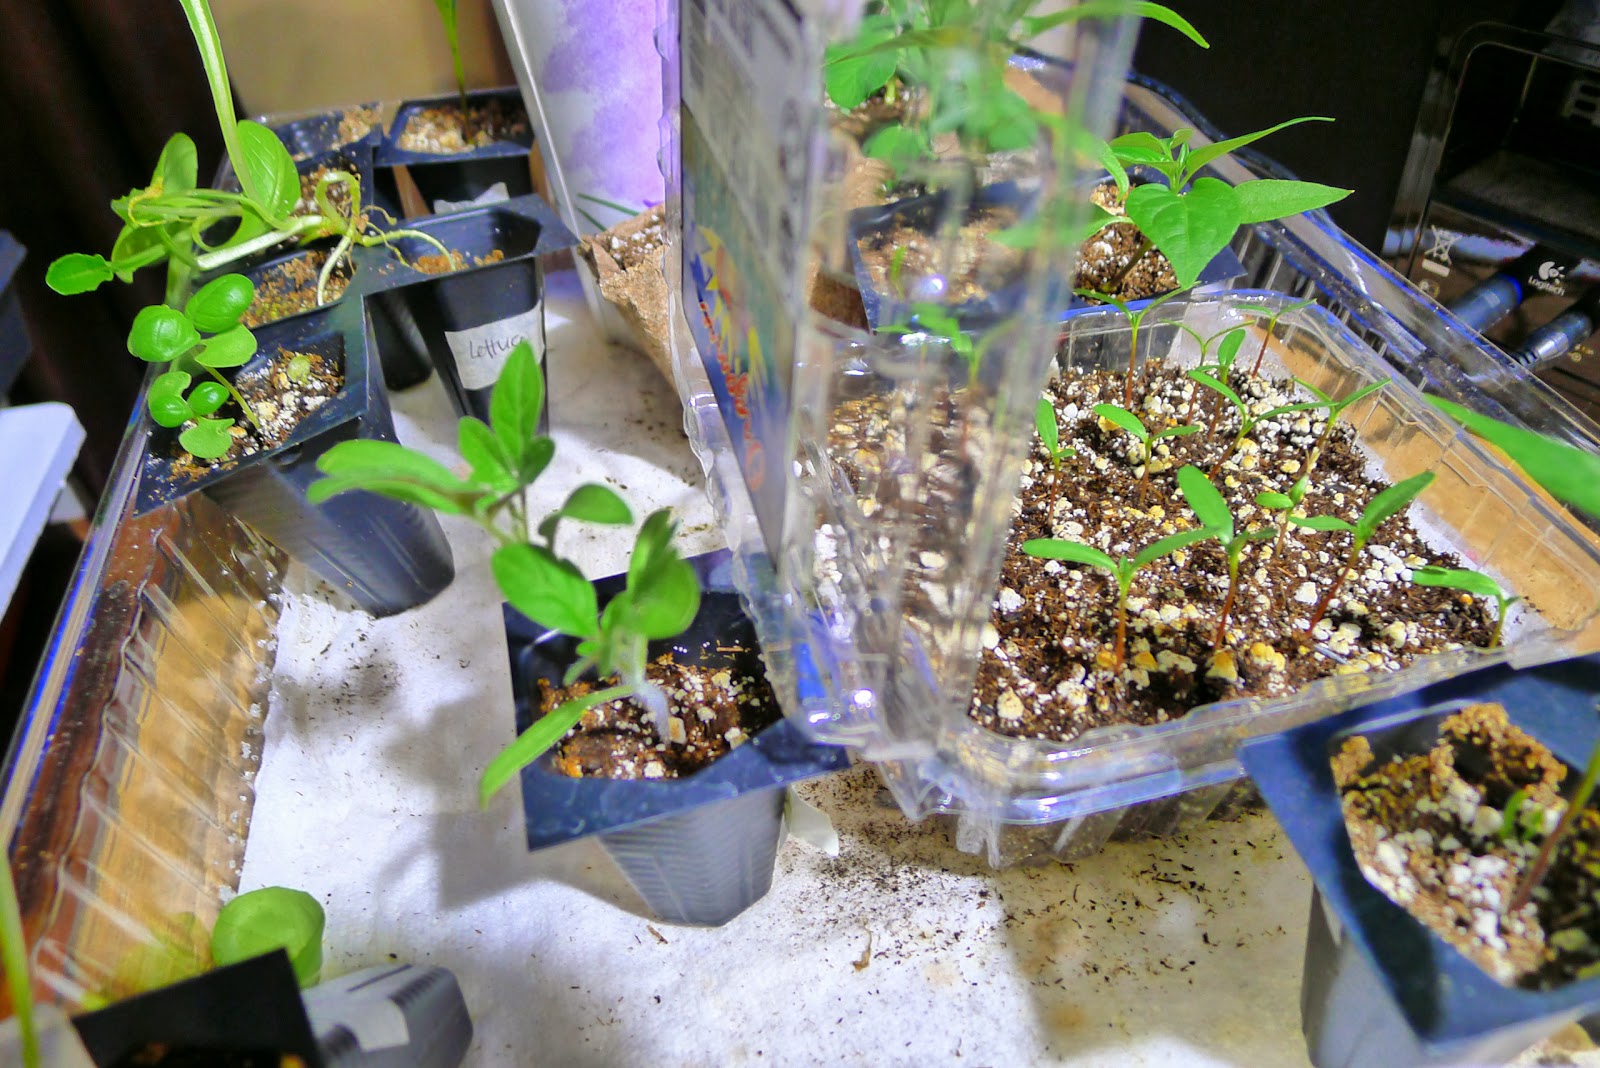
3. The purpose of seeds is to propagate life. I think I can say with confidence that desire to live and thrive. Given the right environment, it shouldn't take too much. To grow seedlings, I have used plastic seed starter trays and biodegradable paper containers with success. I also like recycling and I've grown seedlings in recycled tomato plastic containers which work great because they have covers. Make sure though that they are deep enough for your seedlings to take root.

If you are on Pinterest researching ideas, I discourage using egg cartons. It is a cutesy idea and the intention is good, but it's just not deep enough to promote root growth. Look at the root hanging from a week-old seedling:
They say the ideal temperature is in the 70's (fahrenheit) so if you're starting seeds in the spring, you might want to position it in a warm part of the house. I've heard people say the top of the refrigerator is good enough. I put mine in front of the gas fireplace (we have the pilot on all the time anyway) and it seems to be working well.
5. Use a spray bottle to keep the soil moist, but not soaking. Don't dry it out either. Try not to get the leaves wet when watering. As the seedlings get bigger, they would need to be watered from the bottom. I travel a lot and I use these Vacation Mats that keep my seedlings hydrated for weeks while I'm away. I wish it was a more organic, natural solution, but short of being tethered to these baby plants, I must make do. I used them all last season and they worked great.
6. Nerd it out. Label your seed containers. Especially when you're starting out, it would be helpful to know your tomatoes from your spinach. These two grow in completely different seasons. I also like keeping a journal of when the seeds did what. It's like a baby book - in Excel. Why? I'd like to know what worked well and what didn't, what I grew and at what time. For example, I looked at last year's journal and I noticed that I didn't start my seeds until April. This year, I'm ahead and started them in February. Hopefully by April, some of my tomatoes and zucchini will be big enough to plant outside with a Wall-o-Waters to protect it from the frost.
7. Once the seeds have sprouted and woken up, you can have to leave the sprouts uncovered and you have to upgrade it to a sunny location. This is the brightest spot in your house that gets at least 6 hours of sunshine. If you read up, they say you can use grow lights to simulate the sun if you don't have sunny windows in the house. I have never really needed to use lights since I have big windows facing south. And I also won't pay for the resulting increase of fluorescent lights turned on for six hours a day in my power bill, thank you very much.
8. Once the seedling has grown two pairs of true leaves (so that means six leaves, because technically, the first pair of leaves are not considered "true" leaves), you may need to transplant them to bigger digs. I use paper party cups for these with the bottom trimmed and with a drainage hole at the bottom. Empty ice cream pints also work. Nothing fancy. This is where they live until they're ready for prime time.
9. When is prime time? Depends on the type of plant. Tomatoes, peppers, squash family and friends have to wait until nighttime temperatures no longer dip below the low 40's. In high Sierra speak, that means typically after Mother's Day. Your greens, kales, spinach, lettuce, broccoli can go as soon as they are big enough. I've transplanted them outside without being hardened off thinking they thrive in the cold anyway, and they did just fine.
10. Before transplanting outside, seedlings have to be hardened off. What this means is that you gradually increase the seedling's exposure to outside elements - sun, wind, temperature - bit by bit. Start out a couple hours in the morning, then bring them in. The next day, incrementally increase the exposure time, but always bringing them in. Towards the end, when you have a feel that the seedlings are big and strong enough, leave them outside overnight. You'll be surprised the following morning that they've adjusted. Go by feel, though. Any time you see a seedling unhappy, wilty, droopy and such, bring them back in and ease up on the tough love. They'll get there eventually.
What seeds would you like to grow this season?
Wednesday, March 5, 2014
Gardening in Raised Beds and Self-Water Containers
My garden set up right now is one 48" x 48" raised bed by Greenland Gardener and two self-watering planters. I love the raised bed because of the sheer volume of food I yield from such a small space. This Greenland Gardener bed is on its second year and despite the extreme temperatures here in the desert (including snow and deep freezes in December), it is holding up very well. I wrote a review of this raised bed last season which you can find here.
See this small raised bed?
This is its realized potential... It bursts with color and FOOD!
On the other hand, I also love the self-watering containers because here in the desert, it can get very frustrating knowing the right amount of watering required by your plants. Self-watering containers, as its name suggests, regulates soil moisture by itself. You just need to make sure the reservoir at the bottom is always full. Self-watering containers when done right, could yield high volumes, although you can't plant too much on them since they tend to be small. They also run expensive so when I see one on sale, I grab it! Shown below is a City Pickers container I grabbed on sale and here's a review I wrote of the Grow Box.
This jalapeno plant on the City Pickers container kept growing and growing and producing and producing. It was also the hottest jalapenos I've ever had and to be honest, I ended up giving away most of them because they were fatally hot.
The other container had a melange of herbs, and in the spring, some lettuce that supplied us with salads all season-long.
I have not added any more beds or containers this year. I can't wait to find out what this year would yield!
Tuesday, March 4, 2014
How to Start an Edible Garden
The east and midwest have been hammered by snowstorm after snowstorm this winter, it seems like. Meanwhile, in the high sierras of Northern Nevada, we've had a lackluster winter. Spare for a couple significant storms I could count with one hand, we've pretty much had spring since December. For folks who've invested in a ski season pass such as myself, that is just not thrilling. That means less than stellar ROI.
On the upside, spring is here early and to an edible gardener like myself, that means I can start growing food again! Lemons, lemonade, right?
I'm giddy for this growing season especially since last year was so successful! And you must know that I live in the high desert where there is a lot of things working against me. But my garden was so abundant the entire growing season I also keep some of my co-workers supplied with a little bit of my organic produce grown from one raised bed and two small self-watering containers.
If you have thought about growing your garden, the season is NOW! The big question I get from people is always, "HOW?" Here's a cheat sheet that I made that simplifies how you can start growing your own edible garden.
I care about food and I encourage everyone to grow their own. If you have some growing questions, post below and I could try to help.
Happy Spring and let's get growing!
Monday, July 22, 2013
Playing Dress-Up the Grown-Up Way
My favorite thing about a summer birthday is that I actually get to spend it in one of my most favorite places - outside.
I have been working on sprucing up our outdoor space since the beginning of summer. The IKEA Ammero is in its second summer and it has held up very well withstanding snow and wind. This space used to have a lot of red tones (see "before" pictures here), but I was ready for a younger, fresher look. I went for the unusual combination of summer blue and coral. Which as it would turn out, would also be the theme for my intimate summer backyard birthday party.


In keeping with the theme, I picked up these paper straws and cut out moustaches from black cardboard stock. I happen to have friends who don't mind poking fun at themselves. To hold plasticware and the straws, I dressed up these mason jars with strips of leftover cardboard stock that I used for the pennants.
In a moment of synchronicity, while wandering around Target looking for nothing in particular, The Dutch and I saw these paper plates and napkins that exactly match our party decor. They were $1 each pack of 8 - at 70% off! Time to hoard!
I sewed the chevron print curtains and all the printed throw cushion covers. I ordered the fabric online from Fabric.com, which I later realized also sold at Amazon.com for cheaper shipping. The solid orange ones are from IKEA. The sheer curtains were the same ones I've had from last summer.
With a Cricut Mini, I made all the pennant banners with printed cardboard stock. It took longer to make than if I had just bought some at the store, but these are more personalized and really fun to make.
I sewed these table runners using leftover fabric from the pillows. The candle votive holders are also made of cardboard stock die-cut in a lovely pattern. Yes, I also made those.
I had requested my gracious friend to get some helium balloons in blue and coral. They completed the festive theme for the party! I never really knew how everything would come together. So it was an utter delight to to see that everything did!
In keeping with the theme, I picked up these paper straws and cut out moustaches from black cardboard stock. I happen to have friends who don't mind poking fun at themselves. To hold plasticware and the straws, I dressed up these mason jars with strips of leftover cardboard stock that I used for the pennants.
In a moment of synchronicity, while wandering around Target looking for nothing in particular, The Dutch and I saw these paper plates and napkins that exactly match our party decor. They were $1 each pack of 8 - at 70% off! Time to hoard!
And remember those votive holders? Post-party, they will transform and be recycled into thank-you cards like this one I started tonight:
You'll know when the party was a roaring success if there is no shortage of loud, boisterous laughter until late. We had a constant stream of delicious food and libations, and had a wild time playing games like little children. And I am convinced it's these simple things that make life great, colorful and beautiful: love and togetherness with family and friends.
I'm re-reading Jack Kerouac's "On the Road" and I have never thought this before, but I find the madness of his wild spirit rather intimidating. Yet, as double-three makes a gracious exit, I yearn to live like the one typefied by Kerouac:
"... the mad ones, the ones who are mad to live, mad to talk, mad to be saved, desirous of everything at the same time, the ones that never yawn or say a commonplace thing, but burn, burn, burn like fabulous yellow roman candles exploding like spiders across the stars...."
Cheers to more colorful celebrations of life!
Thirty four, BRING IT ON.
Wednesday, May 22, 2013
Holy Crop!
Ahh... I love this time of the year. That sweet spot straddling spring and summer. The days are noticeably longer but the temps remain pleasant. The first long weekend after a considerable drought is peeking its head. The smell of sleepy wood burning stoves are replaced by the scent of barbeque dinners, usually accompanied by the sound of laughter and gatherings, especially on the weekends. The orchestra of critters are back in the evenings and in the morning, the birds, the birds - you cannot escape them. It's delightful!

This also means that I have a temporary and much deserved reprieve from all the hard work in the garden! Except for those that are still too small to be planted outside, 95% of what I've grown from seed is in the ground. For a brief, impermanent moment, the cold and warm stuff share real estate in the raised bed. And I have really nothing to do in the garden - except harvest!

The cold crops are getting amazingly huge, like this broccoli here. The leaves are bigger than my palm! No florets yet, but a voice inside my head keeps saying, "Any day now.. Any day now.."

Meanwhile, I underestimated the peas. I read online that they don't flower in warm weather. Well, guess what? They do. At least here where it has been getting up to 80's during the day some days but the night temps still hover in the high 40's. I picked three peas today and holy snap! I didn't realize until today that THAT was how peas were supposed to taste like - sweet and VERY oozy juicy! What a revelation!
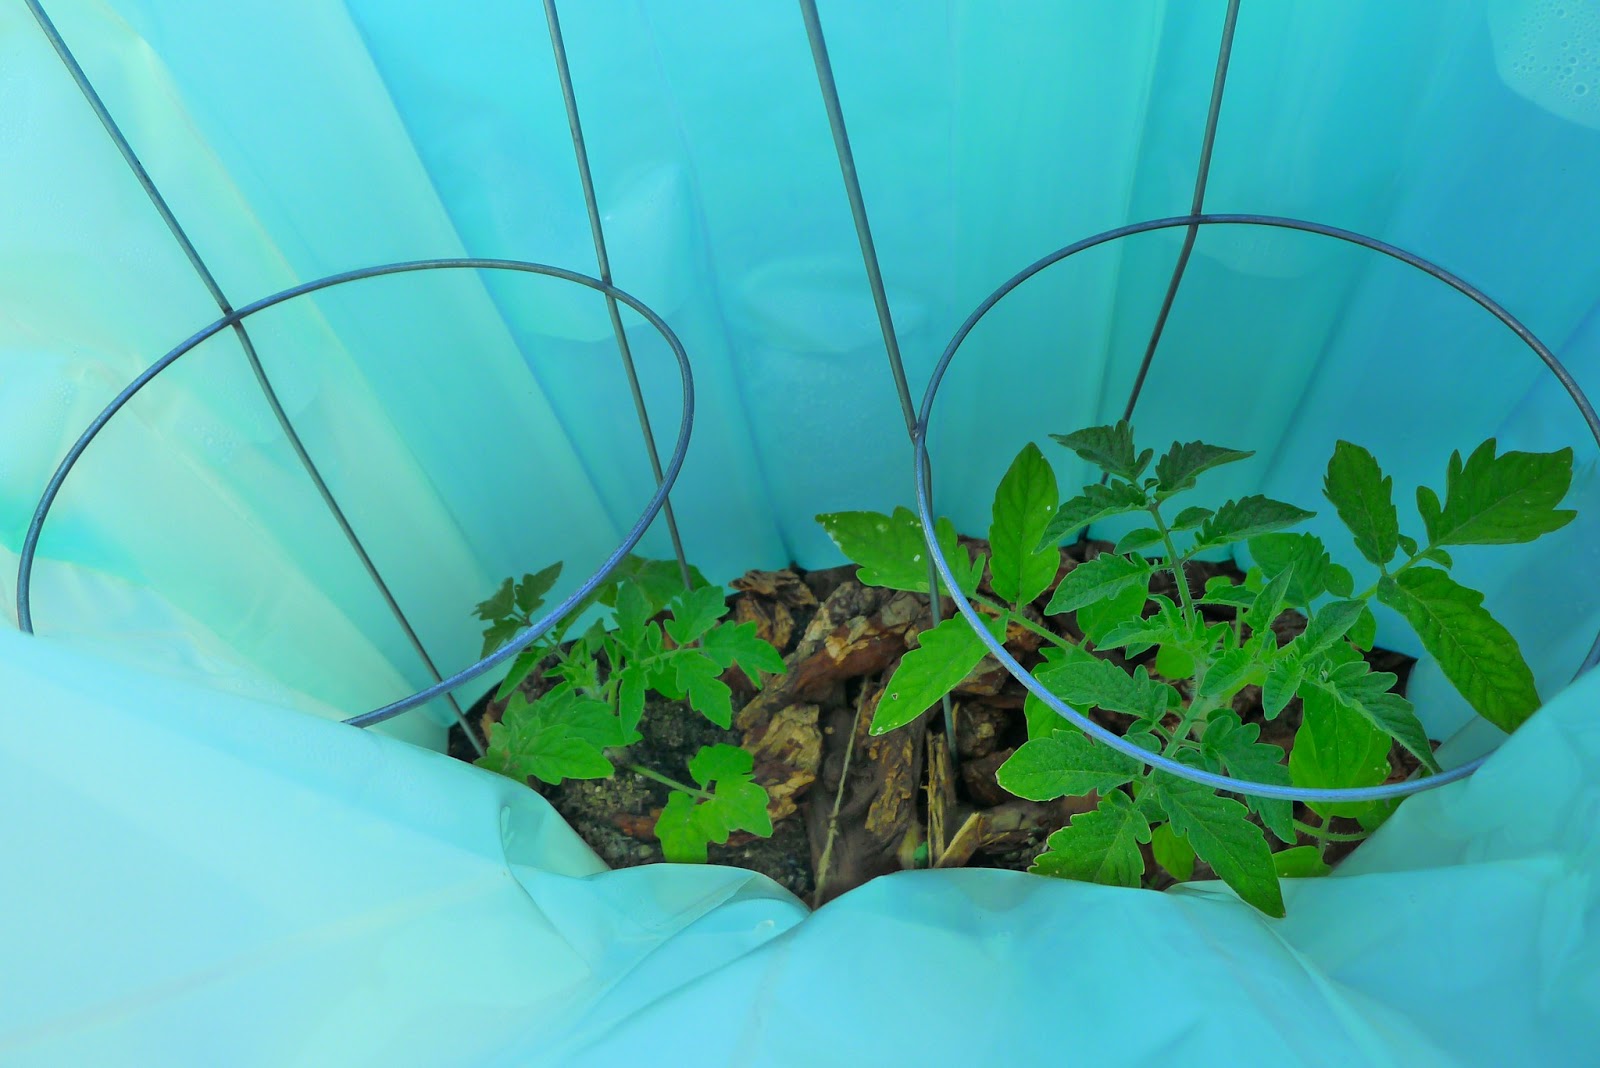
These are the tomatoes I've grown from seed that I transplanted this weekend. They're protected from the evening chills by these Wall O' Waters and they seem to like that since they've grown up so fast right before my eyes! (Wall O' Waters is this round plastic contraption that goes around plants. How it works it has vertical pockets that you fill with water. It absorbs the heat during the day and releases it at night. This effectively increases the night temperatures within the wall by maybe 5-10 degrees, give or take.)
And here's more food sleeping together in the same bed.
I've succumbed to the urge to get one more self-watering container. This City Pickers was on sale at Home Depot for $29 and with a $5 off coupon, I thought it wasn't bad a deal at all. I really like self-watering containers/sub-irrigation planters because they are literally hassle and worry free. Especially when gardening in the high desert, I've found that these self-watering containers work well. I tweaked the potting soil altogether (Kellog's potting mix from Home Depot - never again!). I made my own mix using high quality organic Black Gold compost, coconut coir, perlite, and Full Circle Compost's Soil Elite. I have a cucumber, a green bean bush, and a few peppers in that box.
Growing our food in the yard takes time and energy, yes, no contest. But it's time well spent knowing that I'm part of the solution to the growing food crisis in the world. There's a certain reassurance that I am putting the best quality food I can on our table everyday. The profanity at the table at how everything tastes exponentially better than what we're used to is excusable. And yes, a sweet bonus.
This also means that I have a temporary and much deserved reprieve from all the hard work in the garden! Except for those that are still too small to be planted outside, 95% of what I've grown from seed is in the ground. For a brief, impermanent moment, the cold and warm stuff share real estate in the raised bed. And I have really nothing to do in the garden - except harvest!
The cold crops are getting amazingly huge, like this broccoli here. The leaves are bigger than my palm! No florets yet, but a voice inside my head keeps saying, "Any day now.. Any day now.."
These are the tomatoes I've grown from seed that I transplanted this weekend. They're protected from the evening chills by these Wall O' Waters and they seem to like that since they've grown up so fast right before my eyes! (Wall O' Waters is this round plastic contraption that goes around plants. How it works it has vertical pockets that you fill with water. It absorbs the heat during the day and releases it at night. This effectively increases the night temperatures within the wall by maybe 5-10 degrees, give or take.)
And here's more food sleeping together in the same bed.
| Spinach and Kale (that I made tonight into pre-dinner kale chips) |
| Strawberries mixed in with a bunch of lettuce varieties |
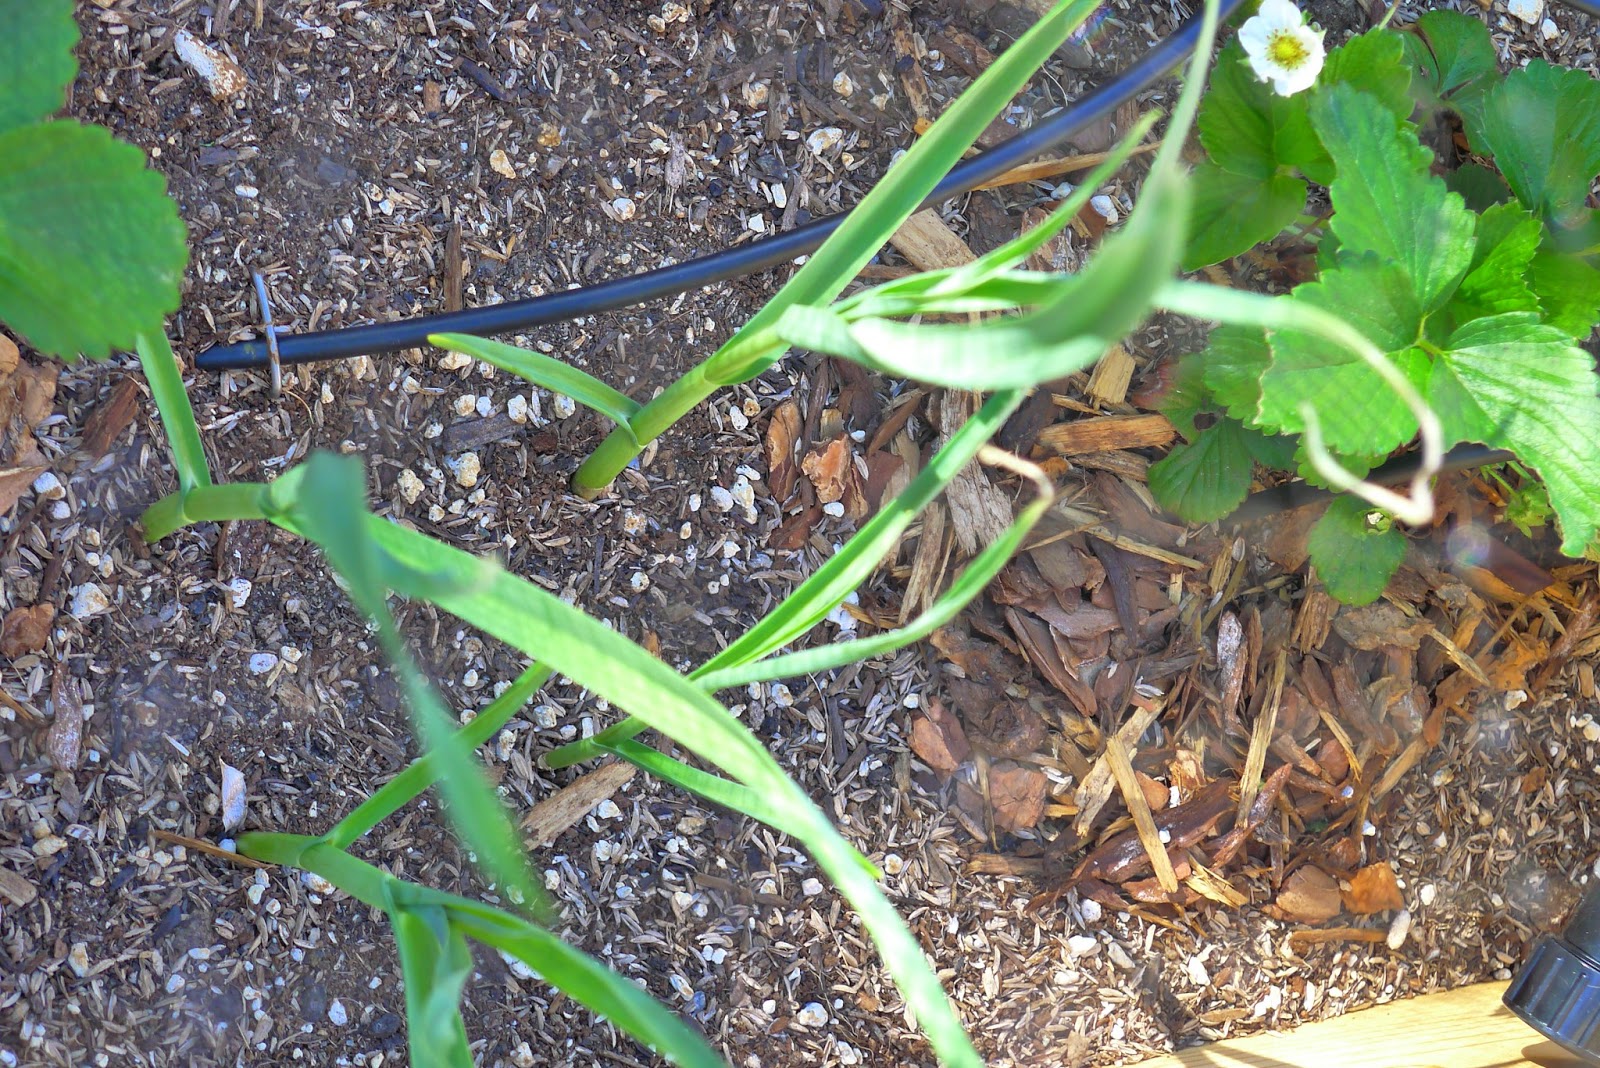
| Garlic - easiest thing to grow EVER! |
| "Volunteer" thyme from last summer - it dropped seeds in the pot and came back this spring on its own. No coaxing required! |
| Pineapple Sage - when it flowers, it attracts hummingbirds! |
Growing our food in the yard takes time and energy, yes, no contest. But it's time well spent knowing that I'm part of the solution to the growing food crisis in the world. There's a certain reassurance that I am putting the best quality food I can on our table everyday. The profanity at the table at how everything tastes exponentially better than what we're used to is excusable. And yes, a sweet bonus.
Tuesday, May 21, 2013
Growing Pains: Lessons from the Garden #3
You win some, you lose some.
Something has been enjoying these mesclun mix before me and I can't ID what it is/they are. It's interesting that how the strawberries and the two-star lettuces next to it are spared.
I was almost driven by either insanity or obsession to catch the culprit - to no avail. I tried scattering eggshells around thinking it will deter some creepy crawler (that's what they say online). Obviously not.
It's rather interesting how grocery stores insulate us from the reality of agriculture and nature. The produce they sell are "perfect", flawless, shiny, hole-free. But what I am learning is that that's not how it really is. Nature is as complex as it is diverse and unless you're spraying pesticide all over the place, bugs and caterpillars will find their way to your garden. They, like us, need to feed to survive, too, you know? From an ideological perspective, I'm choosing my own homegrown, imperfect-looking greens because I know exactly what went in that crop. Perfect-looking crops that have been inundated with toxic pesticides? Too good to be true, so no, thank you.
I'm implementing some organic and natural control methods for these annoying and anonymous critters. but the best one I have tried so far is to simply have healthy plants sowed in nutrient-dense soil. Like humans, if plants' immunity is built up through adequate nutrition, water, and sunshine, I think they are still bound to survive, critters notwithstanding.
But I also acknowledge that there comes a point of surrender or acceptance that sometimes, in life, you win some, you just gotta lose some.
So I'm switching strategies. I'm keeping these holed-up greens undisturbed and letting them, whoever they are, have at it. It appears that their salad of preference is mesclun, which is a-okay since it is SUPER easy to grow from seed. Call it a sacrificial lamb, if you will.
As long as at the end of the day, even though I let them have theirs, I can still have mine.
Bon appetit!
Something has been enjoying these mesclun mix before me and I can't ID what it is/they are. It's interesting that how the strawberries and the two-star lettuces next to it are spared.
I was almost driven by either insanity or obsession to catch the culprit - to no avail. I tried scattering eggshells around thinking it will deter some creepy crawler (that's what they say online). Obviously not.
It's rather interesting how grocery stores insulate us from the reality of agriculture and nature. The produce they sell are "perfect", flawless, shiny, hole-free. But what I am learning is that that's not how it really is. Nature is as complex as it is diverse and unless you're spraying pesticide all over the place, bugs and caterpillars will find their way to your garden. They, like us, need to feed to survive, too, you know? From an ideological perspective, I'm choosing my own homegrown, imperfect-looking greens because I know exactly what went in that crop. Perfect-looking crops that have been inundated with toxic pesticides? Too good to be true, so no, thank you.
I'm implementing some organic and natural control methods for these annoying and anonymous critters. but the best one I have tried so far is to simply have healthy plants sowed in nutrient-dense soil. Like humans, if plants' immunity is built up through adequate nutrition, water, and sunshine, I think they are still bound to survive, critters notwithstanding.
But I also acknowledge that there comes a point of surrender or acceptance that sometimes, in life, you win some, you just gotta lose some.
So I'm switching strategies. I'm keeping these holed-up greens undisturbed and letting them, whoever they are, have at it. It appears that their salad of preference is mesclun, which is a-okay since it is SUPER easy to grow from seed. Call it a sacrificial lamb, if you will.
As long as at the end of the day, even though I let them have theirs, I can still have mine.
| Fresh salad on the dinner table for two! |
Monday, May 20, 2013
Strawberry Basil Tart (A Food Revolution Day Experiment)
Strawberry season is here! If you have bought strawberries at the store lately, you would know because right now they are succulent, juicy, and sweet. When The Dutch brought home a boxful of strawberries, what else is a girl to do than to make strawberry cream pie? And since Friday was Food Revolution Day, what better way to celebrate and indulge than by making an exquisite summer dessert from (semi) scratch?
I'm not very savvy at baking. I could whip up dinners and brunches without much flinching, but baking intimidates me. It seems so technical and precise - measurements, temperatures, textures, etc. But I love me a good, rich, plate of sweetness. Who doesn't?
I braved baking and it actually turned out really good! Here's the recipe for a simple, easy-to-make Strawberry Basil Pastry. (This is an adaptation of a recipe I've found on the web: http://www.foodnetwork.com/recipes/ina-garten/strawberry-tarts-recipe/index.html)
What I loved about making this is that there was room for improvisation. Also, since a mind-blowing strawberry-basil sorbet I tried at Bowl last summer, I cannot wait to try the unusual combination again.
So here we are. You will need:
[Pastry]
If you are feeling over-zealous, feel free to make your own pastry from scratch. I bought frozen ones from Trader Joe's and they taste absolutely amazing. There's two in a box so you could save one for making a quiche the next go-around! Absent of Trader Joe's pastry dough, I would encourage you to make from scratch.
[Pastry Cream]
- 2 cups of whipping cream, organic, preferably
- A dollop of vanilla extract, about 1/2 teaspoon
- 1/2 cup of sugar. If you're using Stevia, use 1/4 cup
- 4 tablespoons of cornstarch
- 2 egg yolks
- 1 egg
- Another 1/2 cup sugar, or you can reduce to 1/4 cup if you're watching your sugar
- A dollop of softened butter
- Sliced strawberries and chopped up basil if you dare
1. Roll out the pastry dough using a rolling pin. Fit into a round pie pan. Cover with foil. The pros say that you're supposed to put some pie weights, dried beans or uncooked rice over the foil. I skipped this since I wasn't planning on entering my pastry to any baking contests.
2. Bake for about 15 minutes at 375 F. You'll know it's done when you prick the bottom with a fork and the dough doesn't stick to the fork.
3. Meanwhile, mix the whipping cream, 1/2 cup of sugar and vanilla extract in a saucepan. Bring to a slow boil. Stir with a wooden spoon here and there to make sure it doesn't burn and stick to the bottom.
4. In another bowl, whisk the egg yolks, egg, and the rest of the sugar. When thoroughly mixed, add the cornstarch, then whisk some more.
5. When the whipping cream is hot enough, add to the egg mixture slowly. You have to keep whisking so the egg mixture doesn't cook. This is custard, not scrambled eggs. :)
6. Whisk together then pour everything back to the saucepan and return to heat. Keep stirring. The hotter the mixture gets, the more it will harden.
7. Remove from heat as soon as you have a pudding-like consistency. Add the softened butter and mix well.
8. Et voila! Your custard is done! Chuck in the fridge so it cools.
9. Or, if you're impatient like we were, smother the custard all over the now cooled pastry crust. Slice up your strawberries and gingerly lay them on top of the custard. If you are curious to try it, chop up some fresh basil and scatter around the custard filling with your strawberries. ;)
10. This plate is best served chilled. You can cheat though and put in the freezer for half an hour then slice it up! Otherwise, you can just keep in the fridge and wait to enjoy your beautiful pastry dessert in a few hours!
Bon appetit!
Sunday, May 12, 2013
I Got it from My Mama
And here it is, custom drapes that I sewed myself! I had to lay both panels on the floor so I could make sure the prints lined up right. It is a challenge sometimes to find modern print on long drapes that exactly match your specific color palette and that is also affordable.
For this project, I ordered three yards of this 54" width cheery home fabric from Fabric.com. It cost only about $8/yard so in total, these 100" L custom drapes only cost me $24 (and two hours of my Saturday). Compare that to $40 per panel plus a delivery lead time. That's 70% cheaper. And in my prejudiced opinion, a lot prettier. Isn't that rad?
And since today is Mother's Day, I'd like to offer a small tribute to the woman who taught me how to use a sewing machine - my Mother! We are reflections of the people who raised us and I am grateful to have the influence of a woman who taught me important life skills. Growing up, I watched my mother cook things from scratch. Delicious things. She always hosted great parties. But also, she taught me how to be compassionate and strong. Overall, she gave me everything I needed to be the person I am today.
Happy Mother's Day, Mom! I am eternally grateful. I love you!
Subscribe to:
Posts (Atom)
.jpg)
.jpg)