
I was at Home Depot today just nosying and I was reminded how expensive starts and seedlings can get. The current market price for a small pot of non-organic, unhappy looking herbs was $3.97. For one. So if you're trying to build a garden, it can get very costly. On the contrary, a packet of organic seeds containing more seeds than you probably need only costs $0.50-$2. And right now, they're buy one, get one free!
They key to starting a garden from seeds though is starting early. It's probably too late to start your broccoli, kale and chard from seed now since those take longer to grow. But if you're in the West Coast where it's been uncharacteristically warm, you could absolutely sow beets, radishes, carrots now. But you have to do it fast.
Warm weather plants like tomatoes, cucumbers, squashes, peppers, basil, etc. need to be started from seed indoors NOW. Here are some practical tips on how to grow healthy plants yourself from seed.
1. Source your seeds. I buy my organic, non-GMO seeds from www.seedsnow.com . I find that the starter pack for 99 cents is all I need. The sprout rate is pretty high, too. You can also buy seeds at Home Depot or even your local grocery stores. in fact, right now, Home Depot is running a buy one, get one free on all seeds. Lastly, save your seeds! Ate a tomato or a pepper you loved? Save the seeds. You just need to wash and dry them and they would be ready next season! There are many YouTube videos on this topic.
2. Use a soil starter mix of compost, coconut coir and vermiculite. If you're familiar with square foot gardening, this is the mini-me version of what you would use in your outdoor garden. If budget is not a consideration, you could also buy a seed starter mix at the nursery. I cannot recommend anything they sell at the big box stores (in fact, I bought a Jiffy brand one to try and I'm returning it). The one that I've tested and proven is Dr. Earth Root Zone that I bought locally at Moana Nursery. I especially like it since it is infused with a whole bunch of organic compost and magic ingredients and it's formulated with mycorhizae, a beneficial microbe that promotes healthy root growth. I used this last year with great success. Some recommend to use coir pellets which are those round objects made of peat moss or coir that expand when submerged in water. I've used them before but the ones I grow without do just fine.
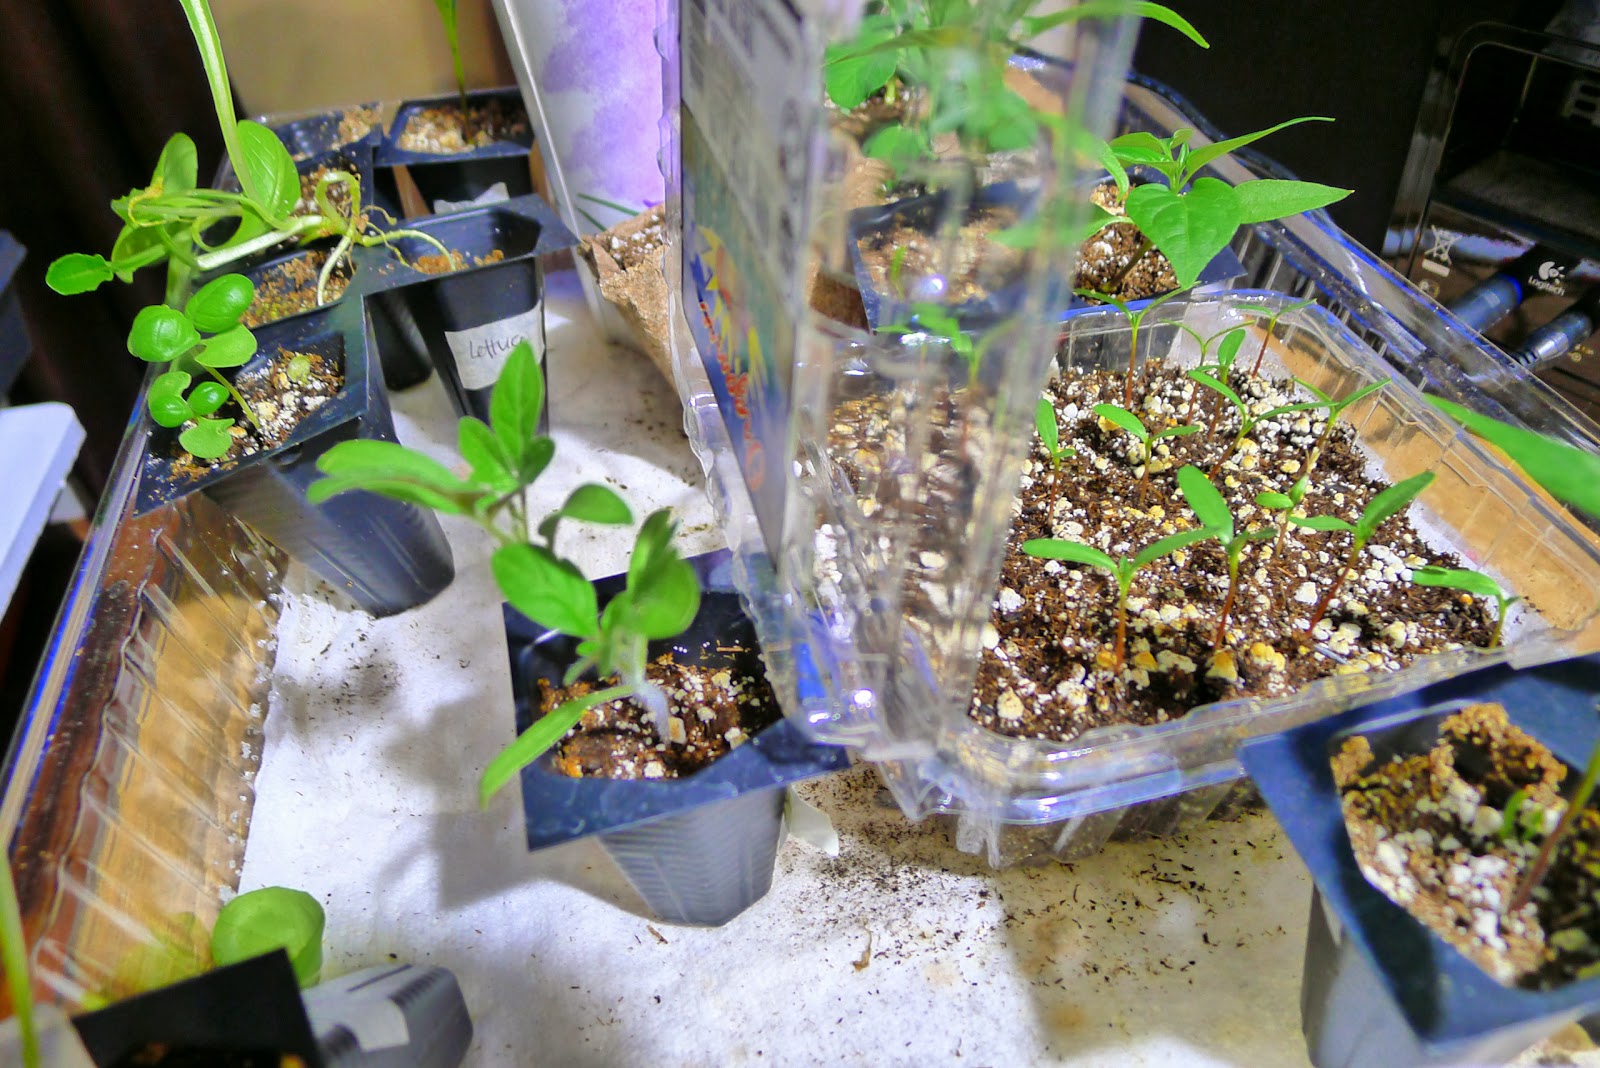
3. The purpose of seeds is to propagate life. I think I can say with confidence that desire to live and thrive. Given the right environment, it shouldn't take too much. To grow seedlings, I have used plastic seed starter trays and biodegradable paper containers with success. I also like recycling and I've grown seedlings in recycled tomato plastic containers which work great because they have covers. Make sure though that they are deep enough for your seedlings to take root.

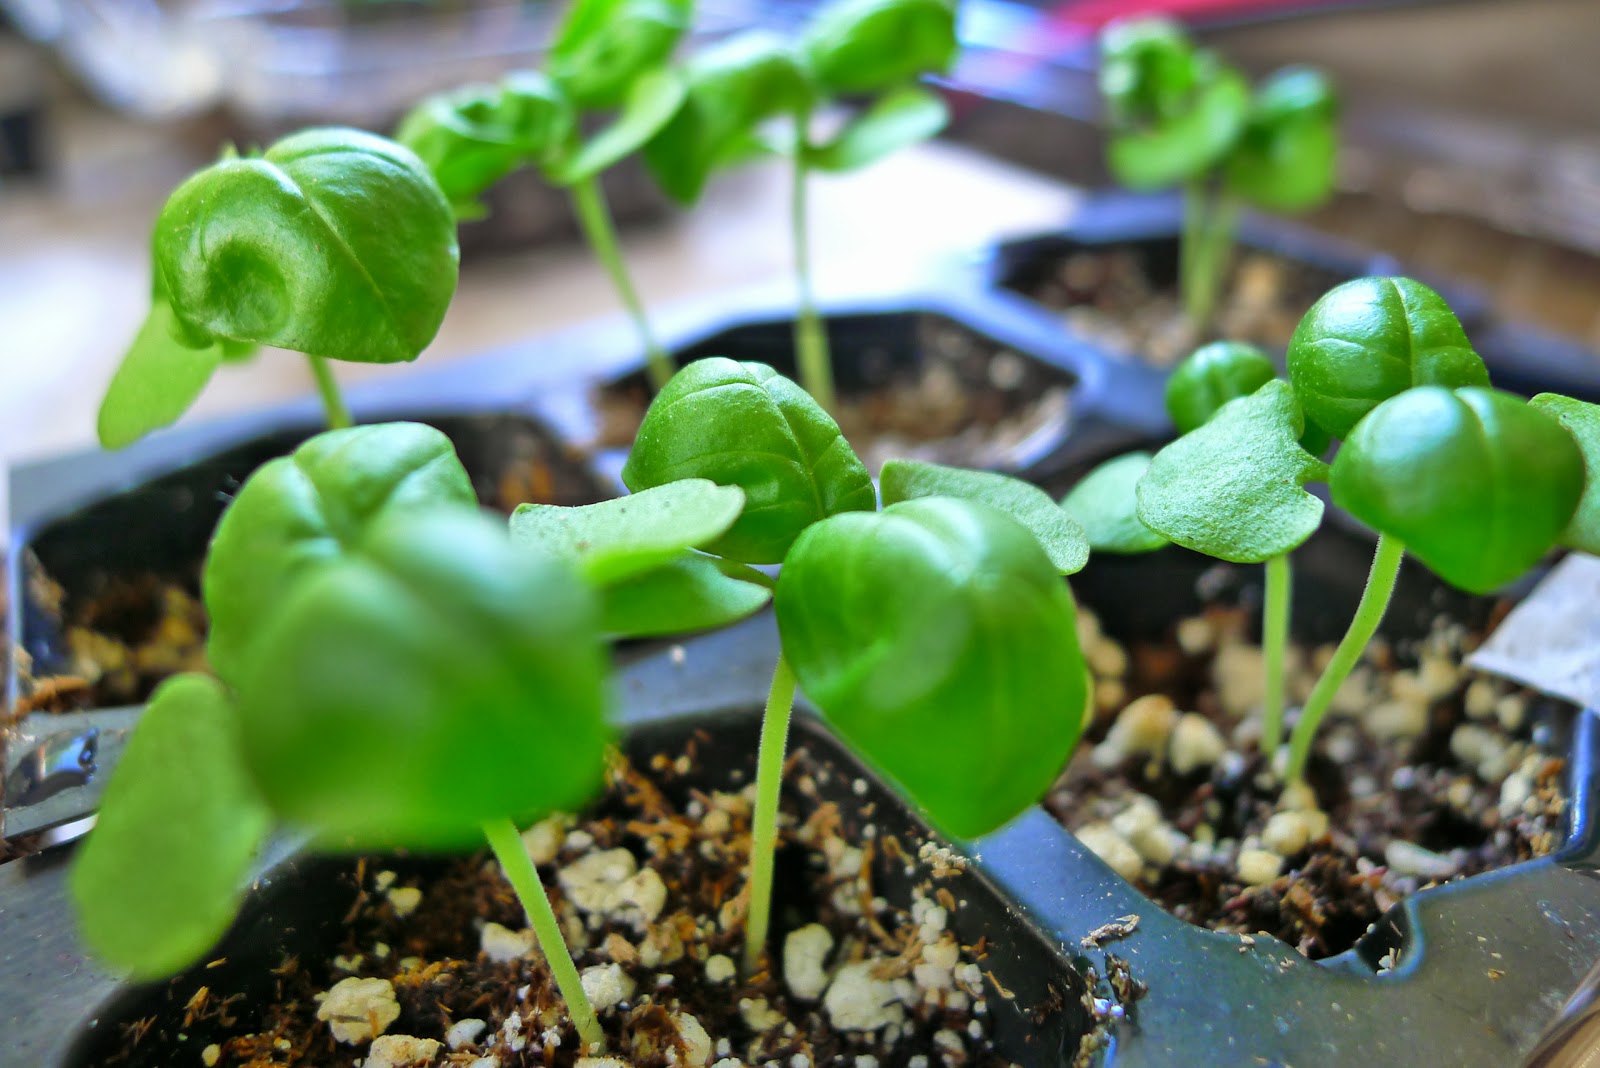
If you are on Pinterest researching ideas, I discourage using egg cartons. It is a cutesy idea and the intention is good, but it's just not deep enough to promote root growth. Look at the root hanging from a week-old seedling:


They say the ideal temperature is in the 70's (fahrenheit) so if you're starting seeds in the spring, you might want to position it in a warm part of the house. I've heard people say the top of the refrigerator is good enough. I put mine in front of the gas fireplace (we have the pilot on all the time anyway) and it seems to be working well.
5. Use a spray bottle to keep the soil moist, but not soaking. Don't dry it out either. Try not to get the leaves wet when watering. As the seedlings get bigger, they would need to be watered from the bottom. I travel a lot and I use these Vacation Mats that keep my seedlings hydrated for weeks while I'm away. I wish it was a more organic, natural solution, but short of being tethered to these baby plants, I must make do. I used them all last season and they worked great.

6. Nerd it out. Label your seed containers. Especially when you're starting out, it would be helpful to know your tomatoes from your spinach. These two grow in completely different seasons. I also like keeping a journal of when the seeds did what. It's like a baby book - in Excel. Why? I'd like to know what worked well and what didn't, what I grew and at what time. For example, I looked at last year's journal and I noticed that I didn't start my seeds until April. This year, I'm ahead and started them in February. Hopefully by April, some of my tomatoes and zucchini will be big enough to plant outside with a Wall-o-Waters to protect it from the frost.
7. Once the seeds have sprouted and woken up, you can have to leave the sprouts uncovered and you have to upgrade it to a sunny location. This is the brightest spot in your house that gets at least 6 hours of sunshine. If you read up, they say you can use grow lights to simulate the sun if you don't have sunny windows in the house. I have never really needed to use lights since I have big windows facing south. And I also won't pay for the resulting increase of fluorescent lights turned on for six hours a day in my power bill, thank you very much.
8. Once the seedling has grown two pairs of true leaves (so that means six leaves, because technically, the first pair of leaves are not considered "true" leaves), you may need to transplant them to bigger digs. I use paper party cups for these with the bottom trimmed and with a drainage hole at the bottom. Empty ice cream pints also work. Nothing fancy. This is where they live until they're ready for prime time.

9. When is prime time? Depends on the type of plant. Tomatoes, peppers, squash family and friends have to wait until nighttime temperatures no longer dip below the low 40's. In high Sierra speak, that means typically after Mother's Day. Your greens, kales, spinach, lettuce, broccoli can go as soon as they are big enough. I've transplanted them outside without being hardened off thinking they thrive in the cold anyway, and they did just fine.
10. Before transplanting outside, seedlings have to be hardened off. What this means is that you gradually increase the seedling's exposure to outside elements - sun, wind, temperature - bit by bit. Start out a couple hours in the morning, then bring them in. The next day, incrementally increase the exposure time, but always bringing them in. Towards the end, when you have a feel that the seedlings are big and strong enough, leave them outside overnight. You'll be surprised the following morning that they've adjusted. Go by feel, though. Any time you see a seedling unhappy, wilty, droopy and such, bring them back in and ease up on the tough love. They'll get there eventually.

What seeds would you like to grow this season?
No comments:
Post a Comment